How to Properly Clean Your Protein Shaker Bottle: Prevent Bacteria and Odor
By optimumnutrition | Published: 2026-06-30
Category: How-to Guides
Learn how to clean your protein shaker bottle effectively to prevent bacteria buildup and stubborn odors. Step-by-step guide with daily, weekly, and deep-cleaning tips.
If you regularly use a protein shaker bottle, you know the struggle: that lingering sour smell that seems to cling to the plastic no matter how many times you rinse it. Beyond the odor, a neglected shaker can become a breeding ground for bacteria, mold, and yeast — potentially leading to digestive upset or even illness. Proper shaker bottle hygiene is essential for anyone serious about their nutrition, whether you're mixing powders or grabbing a ready-to-drink shake on the go. In this guide, we’ll walk through why protein shakers get so funky, how to clean them daily and weekly, and the best products and tools to keep your bottle fresh and safe.
Why Protein Shaker Bottles Harbor Bacteria and Odor
Protein shakes — whether made from Dymatize ISO100 Whey Protein Powder Isolate, Strawberry or a creamy plant-based blend — leave behind a thin film of protein, fats, and sugars on the interior surfaces. When left at room temperature, this residue becomes a perfect environment for microbes. Bacteria such as E. coli, Salmonella, and Staphylococcus aureus can multiply rapidly, especially in the grooves of lids, screw threads, and the bottom of the bottle. The sour smell you notice is actually volatile organic compounds produced by bacterial metabolism. Without proper cleaning, you're not just battling odor — you're risking your health.
Daily Cleaning Routine: The Bare Minimum
You don't need to spend 15 minutes scrubbing after every use, but a few simple steps can dramatically reduce bacterial growth. Here’s a quick daily routine:
- Rinse immediately after drinking. Don’t let your bottle sit in the sink or car. The longer residue sits, the harder it is to remove.
- Use hot water and a drop of dish soap. Fill the bottle halfway, add soap, secure the lid, and shake vigorously for 30 seconds. Pay attention to the lid and spout.
- Clean the lid and seal. Unscrew the lid completely and rinse the threads. The flip-top spout and rubber gasket are notorious for trapping residue.
- Air dry completely. Leave the bottle upside down on a dish rack or use a bottle drying stand. Never store a wet bottle with the lid on — moisture promotes mold.
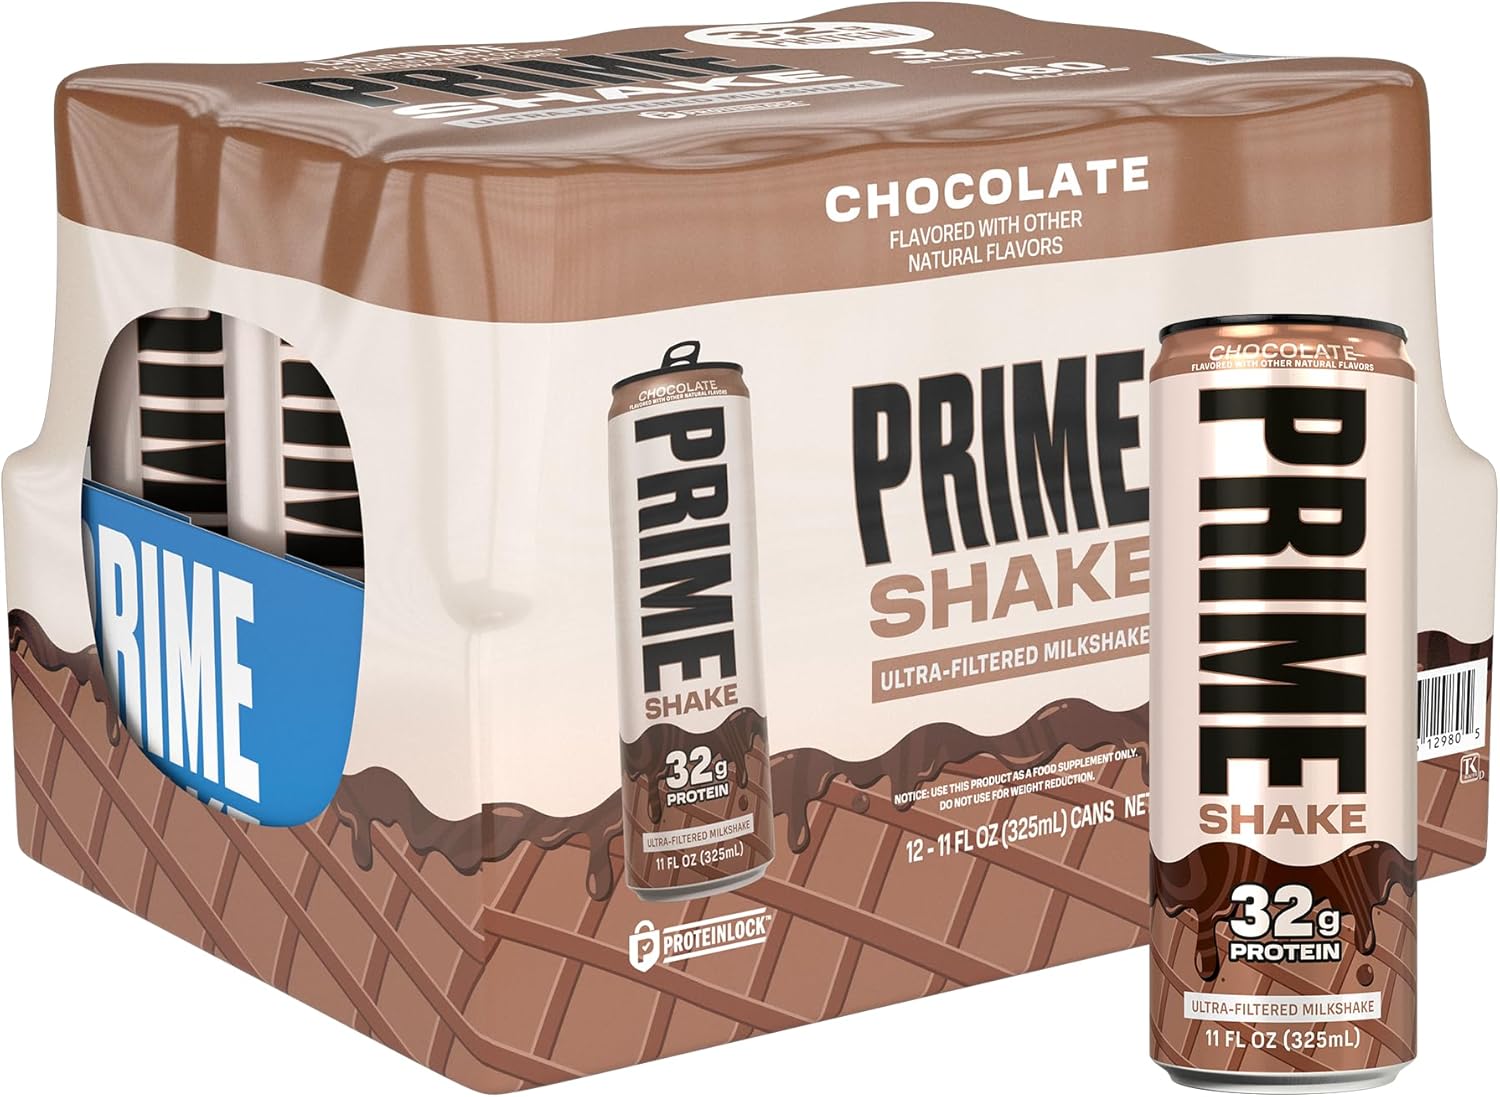
For those who use ready-to-drink shakes like PRIME Shakes, Chocolate, 32g Protein Shake for Muscle Support & Recovery, the same rule applies: rinse the bottle promptly, even if you only drank from it. The sugars and milk proteins in RTD shakes can spoil just as quickly as freshly mixed powder.

Deep Cleaning: Weekly and Monthly Maintenance
Even with daily rinsing, a deep clean once a week is crucial to remove biofilm — a slimy layer of bacteria that adheres to plastic. Here are three effective methods:
1. Vinegar Soak
Mix equal parts white vinegar and warm water (about 1 cup each). Fill the bottle and let it soak for 15-30 minutes. Vinegar’s acetic acid kills most bacteria and neutralizes odors. After soaking, scrub with a bottle brush and rinse thoroughly with hot water.
2. Baking Soda Paste
For stubborn stains or lingering smells, make a paste of baking soda and water. Rub it inside the bottle and on the lid using a soft sponge or brush. Let it sit for 10 minutes, then rinse. Baking soda is a gentle abrasive that lifts residue without scratching plastic.
3. Bleach Solution (for heavy-duty sanitization)
If you’ve left a shake in your bottle for more than 24 hours, consider a bleach soak. Use 1 teaspoon of unscented bleach per quart of water. Soak for 5-10 minutes, then rinse extremely well — multiple times — to remove all bleach residue. This method should be used sparingly, as bleach can degrade plastic over time.
Tools of the Trade: Brushes, Tablets, and Specialized Cleaners
While dish soap and water work, specialized tools make the job easier and more effective:
- Bottle brushes with flexible necks reach the bottom of tall shakers and the crevices of lids.
- Shaker bottle cleaning tablets (like those from brands such as CamelBak or Steradent) fizz away residue and sanitize. Drop one in warm water, let it fizz for 15 minutes, then rinse.
- Dishwasher-safe shakers: Some modern shaker bottles are top-rack dishwasher safe. Check the manufacturer’s instructions. If yours is dishwasher-safe, run it through a hot cycle with a sanitizing rinse.
How to Prevent Odor in the First Place
An ounce of prevention is worth a pound of cure. Here are expert tips to keep your shaker fresh:
- Use a shaker with a wide mouth. It’s easier to clean and dry thoroughly.
- Avoid plastic shakers with deep ridges or complex lids if you’re prone to skipping cleaning. Look for smooth-walled bottles.
- Switch to a stainless steel shaker. Steel is naturally antimicrobial and doesn’t absorb odors like plastic does.
- Rinse with a drop of lemon juice or a splash of mouthwash after your daily wash — both are mild antibacterial agents and leave a fresh scent.
- Never leave a used shaker in a gym bag or car. The heat accelerates bacterial growth and makes odors much worse.
Common Mistakes That Make Odor Worse
Even well-intentioned cleaning can backfire. Avoid these pitfalls:
- Using only a quick rinse with water. Water alone won’t remove the protein film. Soap is essential.
- Storing the bottle with the lid on. Trapped moisture creates a perfect mold habitat.
- Using abrasive scrub pads (like steel wool) on plastic — they create microscopic scratches where bacteria hide.
- Forgetting to clean the shaker ball or wire whisk. That little spring or ball is a bacteria magnet. Remove it and wash separately.
- Not replacing old bottles. Even with meticulous care, plastic shakers develop micro-cracks over time. Replace yours every 3-6 months if you use it daily.
Does the Type of Protein Matter for Cleanliness?
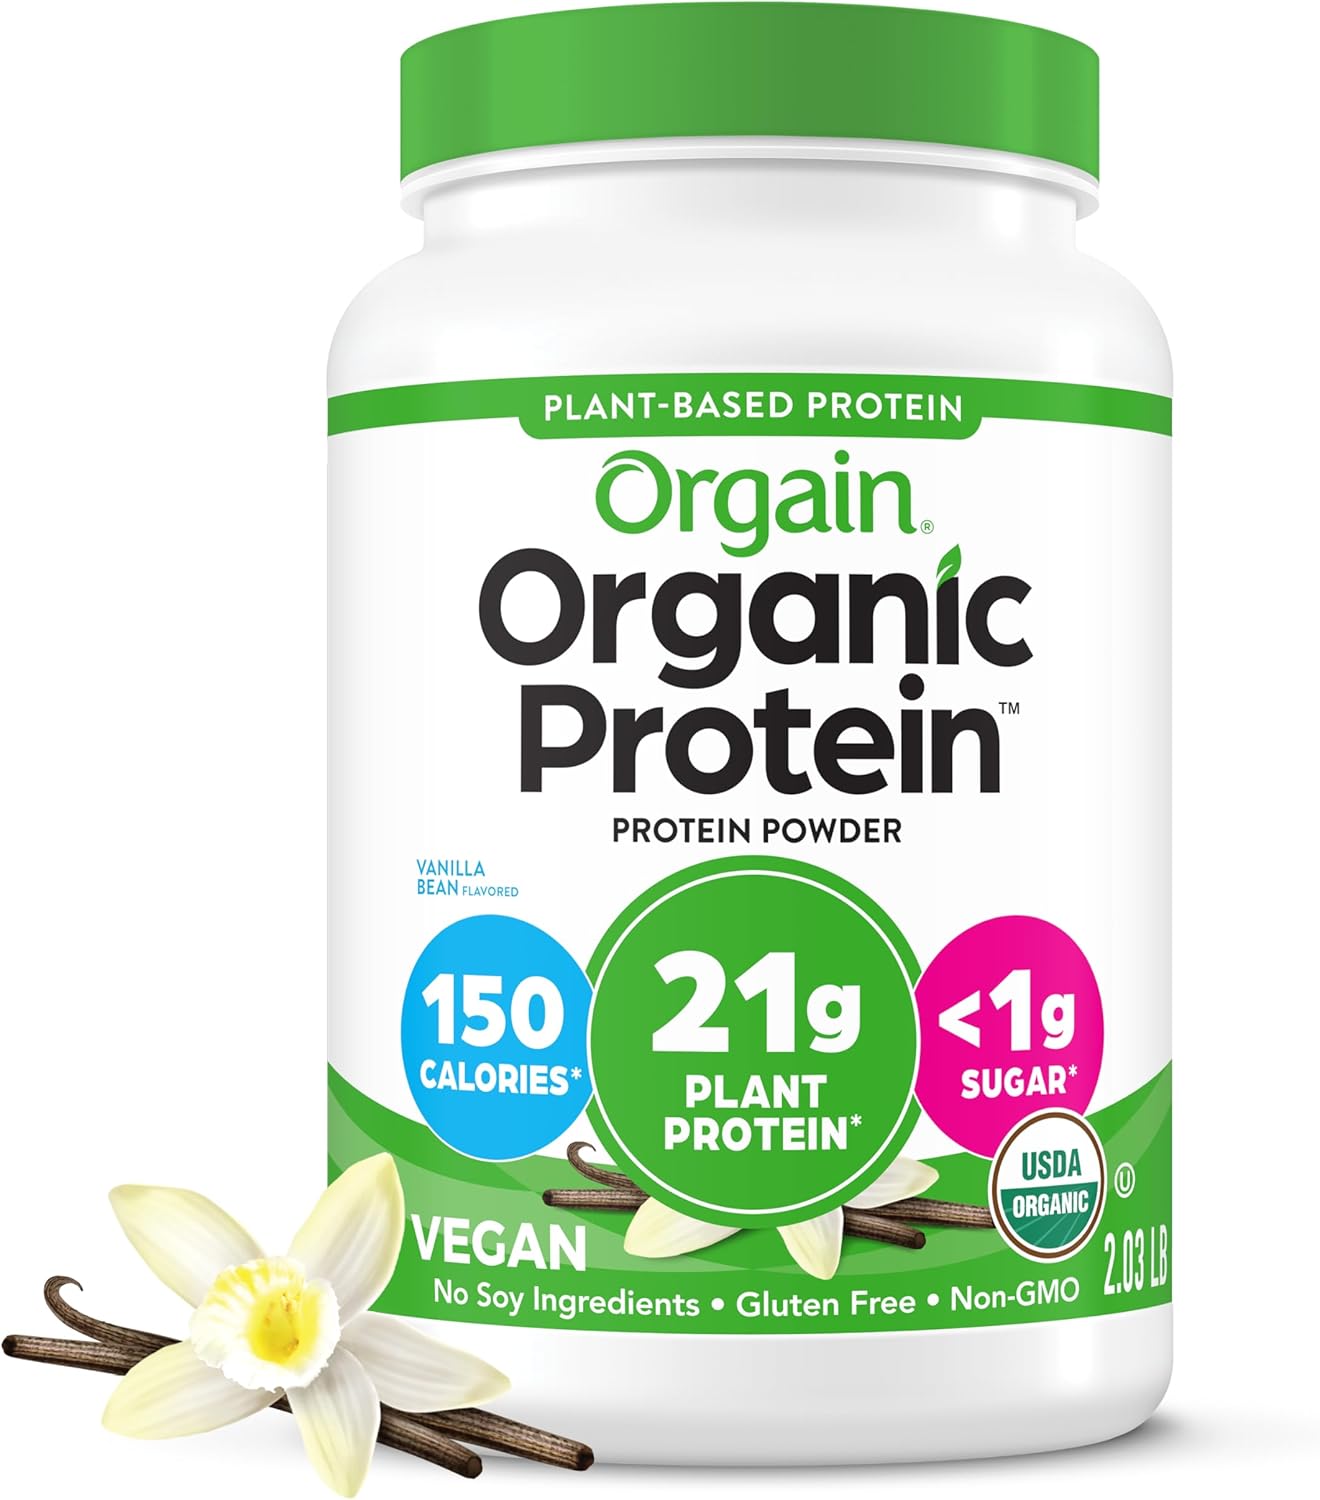
Yes — and no. All protein residues can spoil, but some formulas are more prone to causing odor. Whey protein, especially isolates like ISO100, tends to dissolve more completely and leave less sticky residue than casein or plant-based blends. However, Orgain Organic Simple Vegan Protein Powder, Vanilla contains pea and brown rice proteins that can clump and cling to plastic if not rinsed immediately. Similarly, ready-to-drink shakes with added fats (like MCT oil or cream) leave a greasy film that requires more thorough cleaning. The bottom line: always rinse as soon as you finish drinking, regardless of the protein source.
When to Toss Your Shaker and Buy a New One
If you follow a proper cleaning routine but your shaker still smells sour after a deep clean, it’s time to retire it. Other signs include visible mold in crevices, a sticky feel that won’t wash off, or a cloudy, scratched interior. A new shaker is a small investment compared to the cost of a digestive infection or the unpleasant experience of drinking from a smelly bottle. Many high-quality shakers are sold individually or as part of bundle deals on sites like optimumnutrition.
Conclusion: Fresh Shaker, Better Shakes
Clean protein shaker bottles aren’t just about avoiding bad smells — they’re an essential part of your nutrition hygiene routine. By rinsing promptly, using soap and hot water daily, deep cleaning weekly, and replacing bottles regularly, you can keep your shakes tasting great and your body safe from unwanted bacteria. Whether you’re mixing a scoop of your favorite powder or grabbing a convenient RTD, a clean bottle makes every sip more enjoyable.
Ready to upgrade your shaker game? Check out the PRIME Shakes, Chocolate, 32g Protein Shake — a delicious, ready-to-drink option that pairs perfectly with a spotless shaker bottle for your post-workout routine.