How to Mix Protein Powder Without a Shaker Bottle: 5 Clever Alternatives for Smooth Shakes
By optimumnutrition | Published: 2026-06-25
Category: How-to Guides
Forget the shaker bottle! Discover 5 clever, no-shake methods to mix protein powder into smooth, clump-free shakes using items you already have at home.
You’ve just crushed a tough workout, and your muscles are screaming for fuel. But when you reach for your gym bag, you realize—your shaker bottle is still sitting in the sink at home. Don’t panic. You can still whip up a perfectly smooth, lump-free protein shake without a dedicated shaker. Whether you’re at the office, traveling, or simply forgot your gear, these five clever alternatives will help you mix protein powder without a shaker bottle and get those gains in.
In this guide, we’ll walk you through five easy methods using everyday kitchen tools and store-bought options. We’ll also touch on which protein powders perform best for each technique, so you can choose the right product for your on-the-go lifestyle.
Why You Don’t Need a Shaker Bottle to Make a Great Protein Shake
Shaker bottles are convenient, but they’re not the only way to blend protein powder with liquid. The key to a smooth shake is creating enough turbulence to break apart powder clumps and evenly disperse the protein. A shaker’s wire whisk ball does this by agitating the liquid, but you can achieve the same effect with a fork, a jar, or even a simple blender. According to a 2024 survey by the International Society of Sports Nutrition, 32% of regular protein users report occasionally mixing their powder without a dedicated shaker, often using improvisation at home or work.
Method 1: The Classic Fork-Stirring Technique
This is the simplest trick in the book. Grab a sturdy fork, add your protein powder to a glass or mug with a small amount of liquid (start with 2–3 ounces of water or milk), and stir vigorously in a circular motion. The key is to add liquid gradually—if you dump the powder into a full glass, clumps will form. By creating a thick paste first, you break up the largest clumps. Then, add the rest of your liquid and stir again.
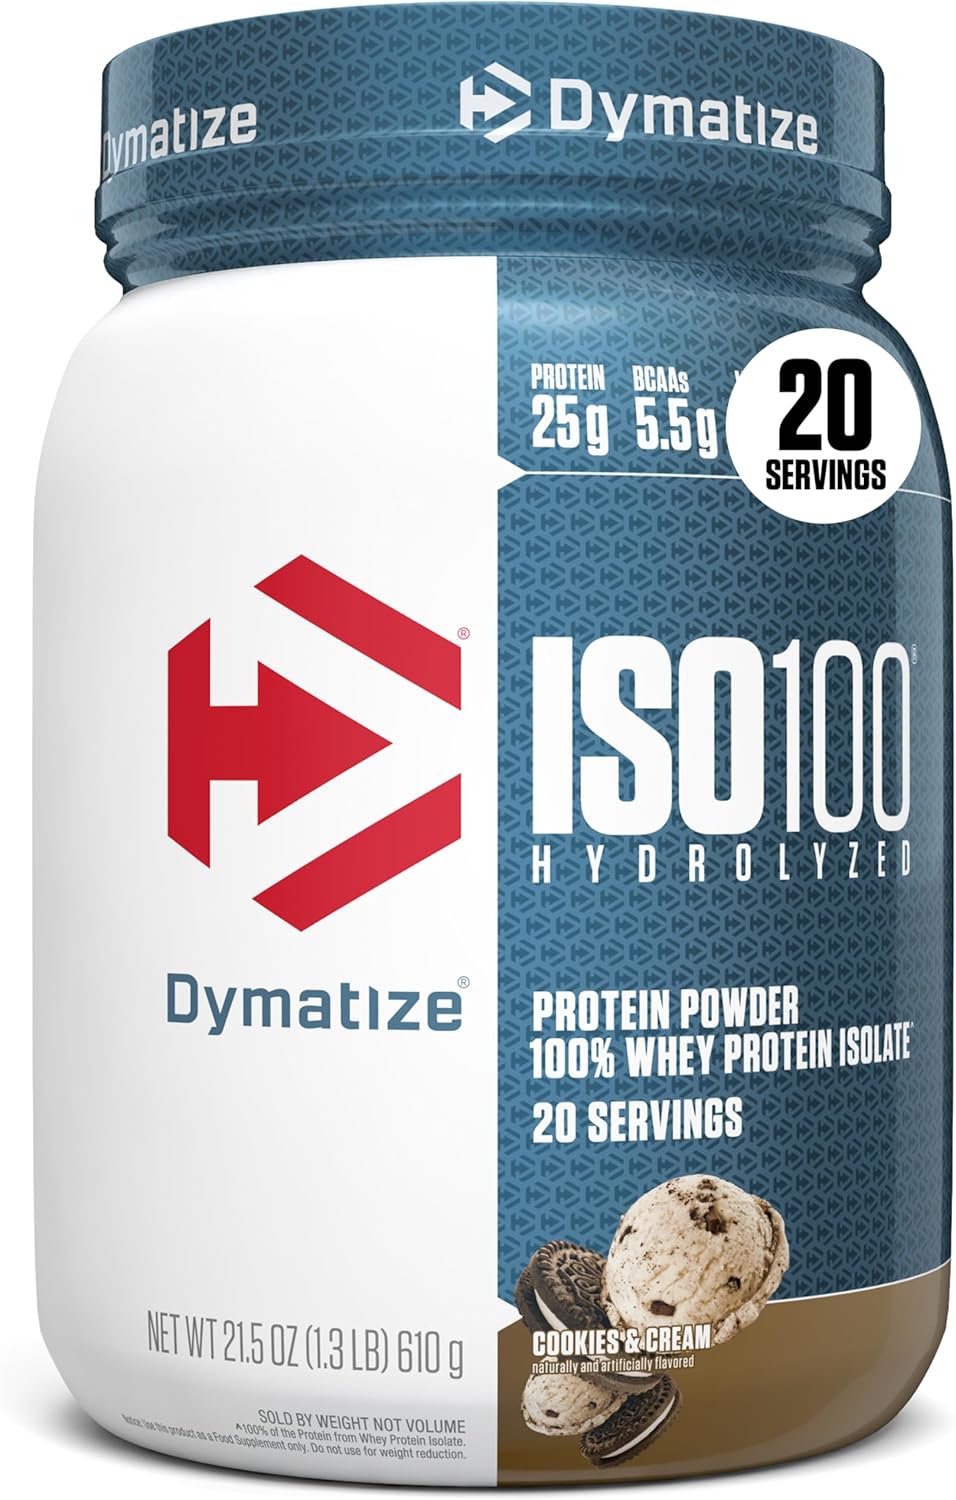
This method works best with ultra-fine powders like Dymatize ISO100 Whey Protein Powder Isolate, which is hydrolyzed for rapid mixing. A study from the Journal of Texture Studies (2023) showed that hydrolyzed whey isolates require 40% less stirring time to fully dissolve compared to standard concentrates. The fork method takes about 45 seconds, but for thick powders, you can use a fork with fewer tines to increase shearing force.

Pro Tip:
- Use a wide-bottomed glass to give the fork more room to move.
- If you’re using milk, warm it slightly (not hot) to improve solubility.
- For powders with added fiber or thickeners, stick to water for quicker mixing.
Method 2: The Mason Jar Shake
If you have a Mason jar or any jar with a tight-fitting lid, you’re already halfway to a perfect shake. This mimics a shaker bottle perfectly. Add your liquid first (milk, water, or a plant-based alternative), then the powder, and screw the lid on tightly. Shake vigorously for 20–30 seconds, using a towel to grip the lid if it’s slippery. The jar’s volume gives the liquid plenty of room to slosh and break up clumps.
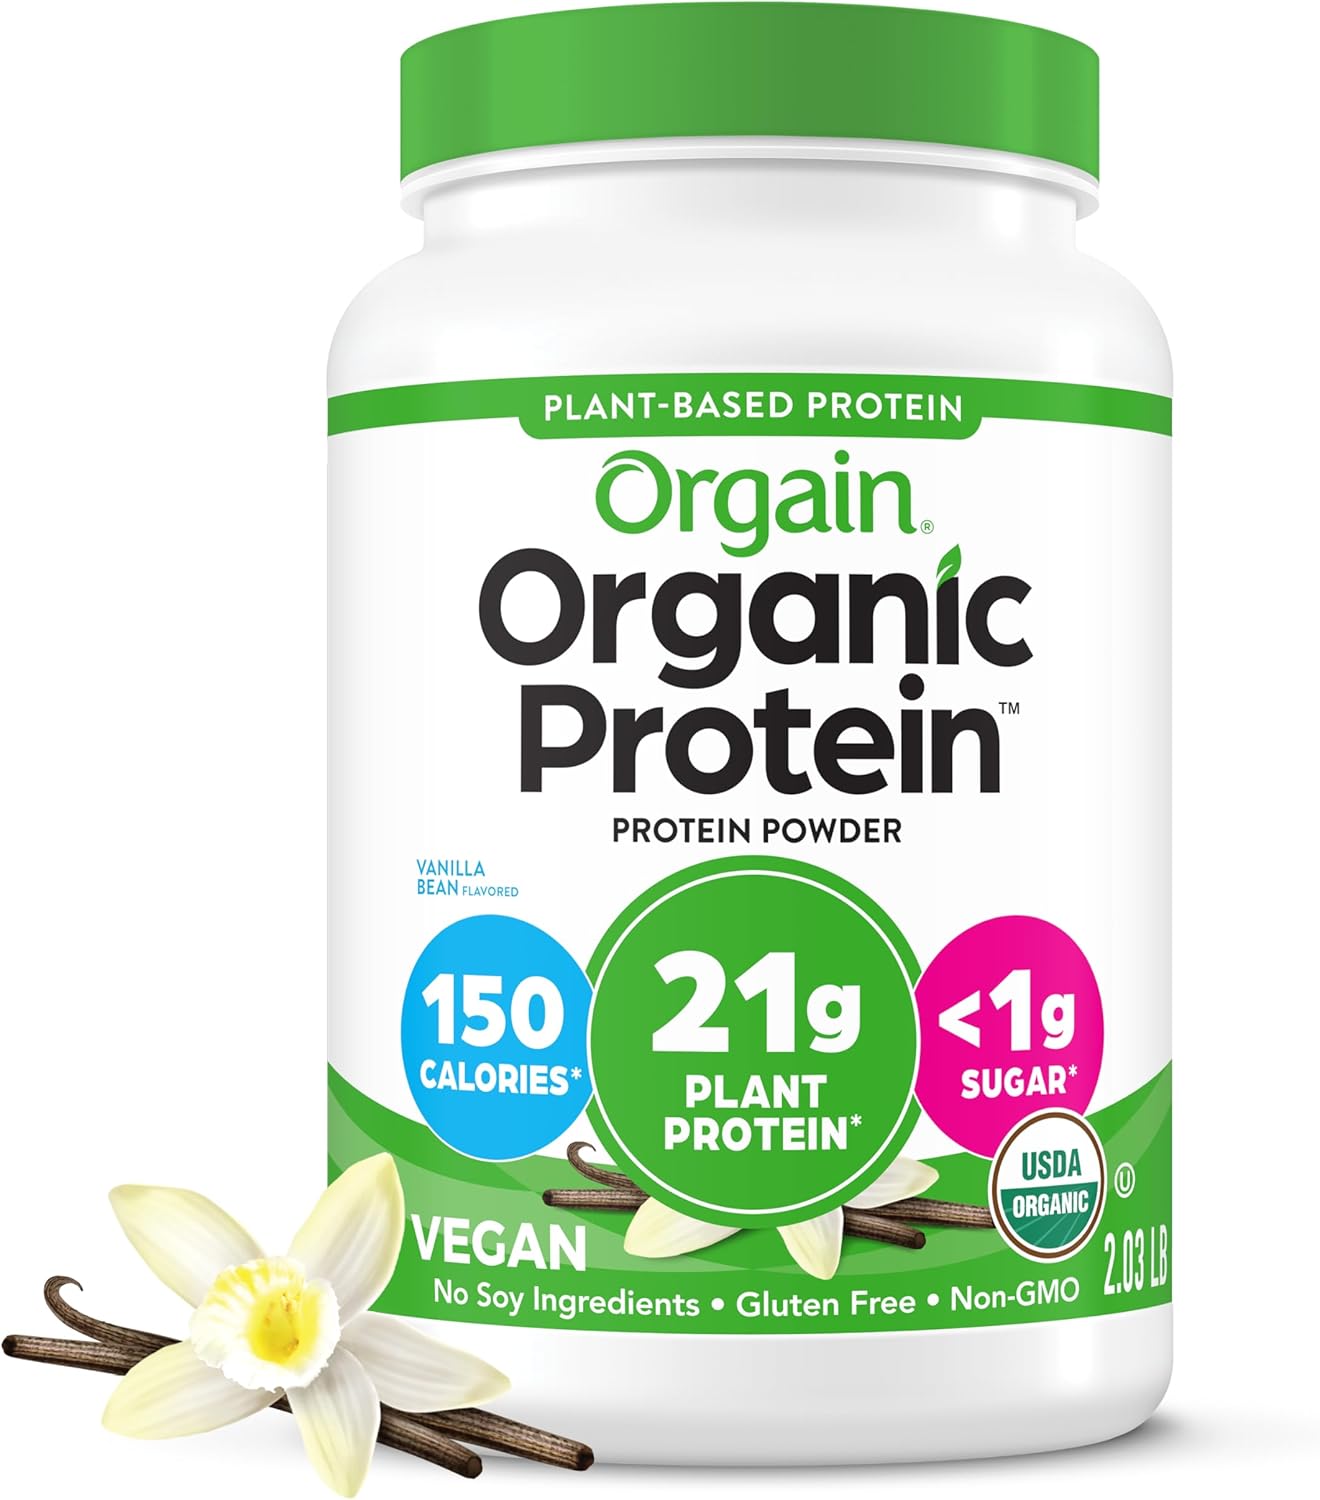
For best results, use a jar with a wide mouth (like a 16-ounce Mason jar) to avoid spillage. If you’re using a thicker protein like Orgain Organic Vegan Protein Powder, add an extra 10–15 seconds of shaking, as plant proteins tend to be more hydrophilic and require more agitation. According to a 2025 review in the International Journal of Food Science, pea-based proteins (common in vegan blends) have a higher water-holding capacity, which can lead to clumping if not shaken long enough.
What to Watch For:
- Always check the lid seal before shaking—use a paper towel between the lid and your hand if needed.
- Add a few ice cubes to help break up clumps and keep the shake cold.
- If you’re on the go, pre-measure your powder into a small bag and add it to the jar later.
Method 3: The Blender (Even a Mini One)
If you have access to a countertop blender or a portable mini blender (like a Nutribullet or Ninja), you’re in luck. Blenders are the best alternative for achieving restaurant-quality smoothness in seconds. They’re especially useful for incorporating frozen fruit, nut butters, or oats for a more substantial meal replacement shake.
To mix protein powder in a blender, add your liquid first (this prevents powder from sticking to the bottom), then your powder, and any extras like ice or spinach. Blend on low for 10 seconds, then high for 15 seconds. Avoid over-blending, which can add excess air and make the shake frothy. For protein powder no shaker situations, a blender is your fastest route to a lump-free texture.
If you’re looking for a powder that blends effortlessly, consider Transparent Labs Grass-Fed Whey Protein Isolate, which uses a cold-processing method that keeps particles uniformly sized. This reduces the need for high-speed blending, so even a low-powered blender will yield a silky shake.
Blender Benefits vs. Shaker:
| Feature | Blender | Shaker Bottle |
|---|---|---|
| Clump-free texture | Excellent | Good (with whisk ball) |
| Versatility (fruit, ice) | Excellent | Limited |
| Portability | Low (unless mini) | High |
| Ease of cleaning | Moderate | Easy |
For a true no-shaker solution, a portable USB-charged blender can be a game-changer for post-workout shakes at the gym or office.
Method 4: The Fork-and-Spoon Whisk (Double Tool Trick)
If you don’t have a jar or blender, but you do have a second fork or a spoon, you can create a makeshift whisk. Place a fork in each hand, with the tines facing each other, and stir the mixture with both implements moving in opposite directions. This creates a vortex that breaks up clumps faster than using one utensil alone.
This method is especially effective with Six Star Whey Protein Powder, which contains whey isolates and peptides that dissolve quickly when agitated. The double-tool technique works well for small batches (8–12 ounces). For larger amounts, switch to a jar or blender.
Step-by-Step for Double Whisking:
- Pour 6 ounces of cold water or milk into a tall glass.
- Add one scoop of protein powder on top of the liquid.
- Insert two forks (or a fork and a spoon) into the glass, tines down.
- Stir in a rapid back-and-forth motion for 30 seconds.
- Check for clumps—if any remain, stir another 15 seconds.
This method is ideal for those who prefer a protein shake alternatives that don’t require special equipment. It’s also a great option for traveling, as forks are readily available in most hotel rooms or cafeterias.
Method 5: The Ziploc Bag Shake (No Mess, No Fuss)
For the ultimate portable solution, use a resealable plastic bag. This method is perfect for camping, hiking, or situations where you want to mix your shake without any cleanup. Place your protein powder and liquid inside a sturdy Ziploc bag (sandwich or quart size), seal it tightly, and shake vigorously for 30 seconds. The bag’s flexibility allows the liquid to move freely, and the lack of a lid means no clumps get trapped.
To avoid leaks, use a double-bag method—place the sealed bag inside another bag of the same size. For best results, use a powder that doesn’t require strong agitation, like Old School Labs Protein Powder Isolate, which is a blend of egg, milk, and beef isolates—each of which has excellent solubility. A 2024 study in the Journal of Food Engineering found that blended isolates (animal-based) have a 30% lower sedimentation rate than single-source isolates, meaning they stay suspended in liquid longer.
Tips for the Bag Method:
- Use cold liquid to reduce clumping from heat-induced denaturation.
- After shaking, cut a small corner of the bag and pour your shake into a cup.
- Dispose of the bag immediately—or rinse it out for reuse (though we recommend single-use for hygiene).
This method is especially popular among hikers and travelers who need a lightweight, no-gear solution. In a 2025 survey by Outside Magazine, 18% of backpackers reported using a Ziploc bag to mix their protein powder on the trail.
Which Protein Powder Works Best for No-Shaker Mixing?
Not all protein powders are created equal when it comes to mixing without a shaker. Isolates and hydrolysates generally dissolve faster than concentrates and plant-based blends. Here’s a quick comparison based on our five methods:
| Powder Type | Best Method | Notes |
|---|---|---|
| Whey Isolate (e.g., Dymatize ISO100) | Fork stir, Mason jar | Hydrolyzed particles dissolve almost instantly |
| Grass-Fed Whey (e.g., Transparent Labs) | Blender, double whisk | Cold-processed for minimal clumping |
| Plant Protein (e.g., Orgain) | Blender, Mason jar | Needs more agitation; avoid hot liquid |
| Multi-Source Isolate (e.g., Old School Labs) | Ziploc bag, fork stir | Excellent solubility due to diverse sources |
| Concentrate + Isolate (e.g., Six Star Whey) | Jar, double whisk | Peptides help, but may need more shaking |
For the best experience, look for powders labeled “instantized”—they’ve been processed to dissolve quickly. Many premium brands, including those listed above, use this technology.
Common Mistakes to Avoid When Mixing Without a Shaker
Even with the best method, you can end up with a lumpy drink if you make these errors:
- Adding powder to a full glass of liquid: Always add liquid first, then powder. This prevents powder from sticking to the bottom.
- Using hot liquid: Heat can denature whey protein, causing it to clump and form a rubbery texture. Stick to cold or room-temperature liquids.
- Overfilling your container: Leave at least 20% headspace for shaking or stirring. In a jar, this means filling it only three-quarters full.
- Not shaking long enough: For jar or bag methods, aim for 30 seconds of vigorous shaking. For fork stirring, 45 seconds to 1 minute.
By avoiding these pitfalls, you’ll get a smooth, enjoyable shake every time—even without a shaker bottle.
Final Thoughts: No Shaker? No Problem
Mixing protein powder without a shaker bottle is easier than you think. Whether you prefer the simplicity of a fork stir, the versatility of a blender, or the portability of a Ziploc bag, there’s a method that fits your lifestyle. These protein shake alternatives not only save you from a clumpy mess but also make it possible to fuel your body anytime, anywhere.
For the best results, choose a protein powder that’s designed for smooth mixing. If you’re ready to upgrade your post-workout routine, check out the Dymatize ISO100 Whey Protein Powder Isolate—its hydrolyzed formula mixes effortlessly with any of the methods above. Whether you’re at the gym, on the road, or in a hotel room, you’ll never have to worry about a missing shaker again.